I love film and I mainly shoot with a variety of analogue camera, but labs in London are quite dear, so I’m always on the lookout for cheap ways to develop my negatives.
I started going to a cheap lab in Brick Lane called Eyeculture (you can read about it here), but I became incresingly frustrated by the two day wait to get my medium format negs back.
After a while I found another lab, close to Aldgate East, that develops medium format on the same day for the amazing price of two pounds a roll, but unfortunately the negatives weren’t well looked after and I ended up with scratched and dirty negatives most of the time.
To be sure to have good speedy results at an affordable price, I decided to start developing my negatives at home.
I have been developing black and white negatives for a while now and I feel fairly comfortable loading my films in the changing bag and mixing chemicals, but I’ve never been too accurate with the procedure (agitations and temperature) because the process is quite forgiving and you can experiment with it.
On the other hand, colour processing is a standardized procedure that requires accurate temperature control and I was a bit worried about it as I am a bit messy and disorganised.
Then I’ve watched the video below (it’s really long, but totally worth watching if you think that C41 processing at home has to be super accurate) and I understood that it’s not so complicated and that I should put my fears aside and give it a try
Full of hopes I went to my usual film/chemicals pusher, Process Supplies, I bought a 1 litre C41 kit by Tetenal and I read gazillions of discussions on flickr regarding processing colour film at home.
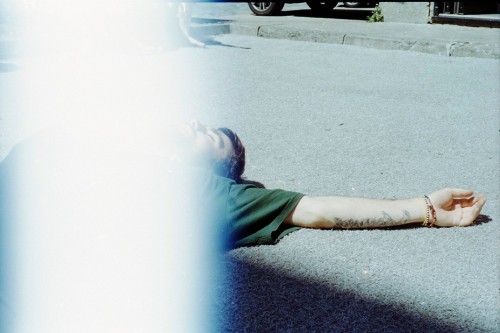
My first experiment was a disaster because I didn’t agitate the tank enough and some areas of the film didn’t get developed (plus the camera used to shoot the film suffered some light leaks)
It does look kind of funky in some pictures tho
The second time I had a similar problem because there weren’t enough chemicals to cover the whole film and I was still too sloppy with my agitation method.
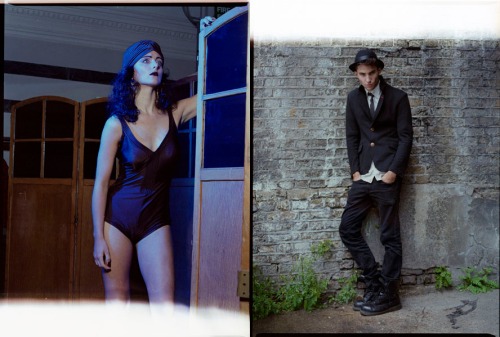
Finally I decided to agitate as I normally do when processing black and white film and tadaaam, success!
I would recommend to every photographer who shoots film and he’s concerned about money and the quality of his negs to give home processing a shot, it’s quite easy (it took me three attempts just because I’m proper slow eheh) and you’ll save lots of money and frustration.
You only need a changing bag to load the film(but you could do as well in a darkened room under the duvet), a tank, some spirals, the c41 kit (you can get it in 1 litre or 5 litres, the second one being the most cost effective), a thermometer, a washing up bowl and a kettle.
If you are interested I would recommend to read the following instructions/discussions, they’re quite illuminating
Developing color film “FROM A TO Z”!!!
C-41 home development (with picture)
C41 step-by-step processing (with pictures)
Tetenal C-41 info
If, after reading all these instructions, you still have doubts, don’t hesitate to ask me anything in the comments: I know that it’s quite intimidating to process colour at home and I’m happy to help as much as I can.


Claudia! That’s great, I’m going to try it I was thinking it’s such a pain to get film dev’d here
What do you do to print? Do you have a darkroom?
Em xxx
Emma! I’m glad you like the idea, it’s much easier than I thought
I print in a rental darkroom near my place, they have colour and black and white facilities and it only costs 3 quid an hour
xxx
I love that shot of the blond, black, and blaugrau girl against red and it’s inspiring to discover here that she was one of your first home-developed successes.
I am just getting into film with a FED 2, a Kiev, and a Bronica SQ-AI (which association led me to your work) and going straight to home developing.
Big breath…
Thank you so much for the inspirational work on your site and on Flickr. All very beautiful and immediate and intimate!
Very best wishes to you.
David
blaugrau???
Anyway thank you so much for the nice comment, you’re so sweet!
spettacolari! adoro il tuo stile!
grazie!
Oh brava Claudia!
Senti, mi sono messo a scattare e sviluppare pure io negativi a colori, per i tuoi stessi motivi.
Il mio problema però diventa tirarci fuori qualcosa di bene dopo, con lo scanner. Perchè con le dia ok, è facile, le vedi e punti a farle uguali a monitor. Con i negativi invece c’ho i colori a caso, e praticamente devo tirarli qua e là a occhio per farli azzeccare con la mia idea della realtà…
(Magari mi dici che ti escono così come li scansioni, e io invece mi complico la vita con vuescan dng e blablabla…)
Io scansiono con Silverfast e vado a occhio, non sara’ un metodo scientifico, ma per metterle su internet non mi faccio troppi problemi
Reblogged this on Analogue Soul and commented:
A great article by Claudia Moroni
Reblogged this on Analogue Soul and commented:
A Great article by Claudia Moroni
Love this post! Thank you for sharing all this info!
I have recently started to develop my C41 at home too, I tried it when I read somewhere in those gazillions of info, that it could be done in 30*C and a slower scheme. And it worked out just fine, so I’m also thrilled with this.
Just started on my second litre. And it was very forgiving in time too! That first batch lasted for months, I think I developed 12 rolls in two months, just for trying the chems, and the last of the 12 rolls was gorgeous too!
Keep up the good work! Love your blog!
Marie
No problem, glad to be useful I thought about using the 30 degrees process, but it takes a bit too long for me ’cause I’m really impatient/lazy. Happy to know that it’s working great for you. Thanks again xx
Hey, thanks for the post!
Im just wondering what you do now to aggitate when developing. When i do B+W I simply rotate the canister and tap out the air bubbles every 2 mins or so. What do you do to get best results? thanks